Help Article
Setting Up Sample Tracking with External Reports

Who can use this feature?
Users with Admin role permissions
Purpose
In some cases, you may want to use MetaField’s Sample Tracking process without creating a native form for the lab test in the Lab (LIMS) module. This is often the case when your team already has an established method for performing the test (such as an Excel spreadsheet), but would still like to integrate the process into MetaField.
Adopting this approach provides several benefits:
- Field staff: A consistent way to log all samples taken in the field, regardless of how the lab test is performed.
- Chain of custody: Ability to apply full chain of custody tracking and monitor sample status via the Dashboard.
- Centralized reports: A single repository for all lab reports, with the ability to distribute them directly from MetaField, no matter how they were generated.
- Lab staff: A unified place to track all lab work.
For the example below, we’ll set up a form for the Standard Test Method for Sieve Analysis of Fine and Coarse Aggregates (ASTM C136). However, this process can be applied to any test.
Creating the Sample/Specimen Form
The first step is to create a Sample Tracking form for your sample and specimens.
1. Create the Sample Form
In Administration under LIMS / Samples → Sample Forms, find or create the Sample Form and give it a descriptive name. In this example, we’ll use Bituminous Aggregate. A corresponding Specimen Form (Bituminous Aggregate Specimen) will be created automatically.

2. Associate a Material and Specimen Size
Every Sample Form must be linked to a Material and a Specimen Size:
- Material links Sample Forms and Test Forms together.
- Specimen Size is required when logging a Sample Form.
To set these up:
- Open the Sample Form for editing (click the form name).
- In the form, select Form Settings
- Add or Edit the Sample Material and Specimen Sizes Form Settings
- If the Material you need isn’t available, add it in Administration → General → Material.
- Multiple sizes can be selected within the Specimen Sizes selector
- If the size you need isn’t available, you can create or associate additional sizes in Administration → LIMS / Samples → Specimen Sizes.

3. Decide What Information to Collect
Next, determine what information should be gathered in the field:
- Sample Form fields prompt users once per sample.
- Specimen Form fields prompt users once for each specimen.
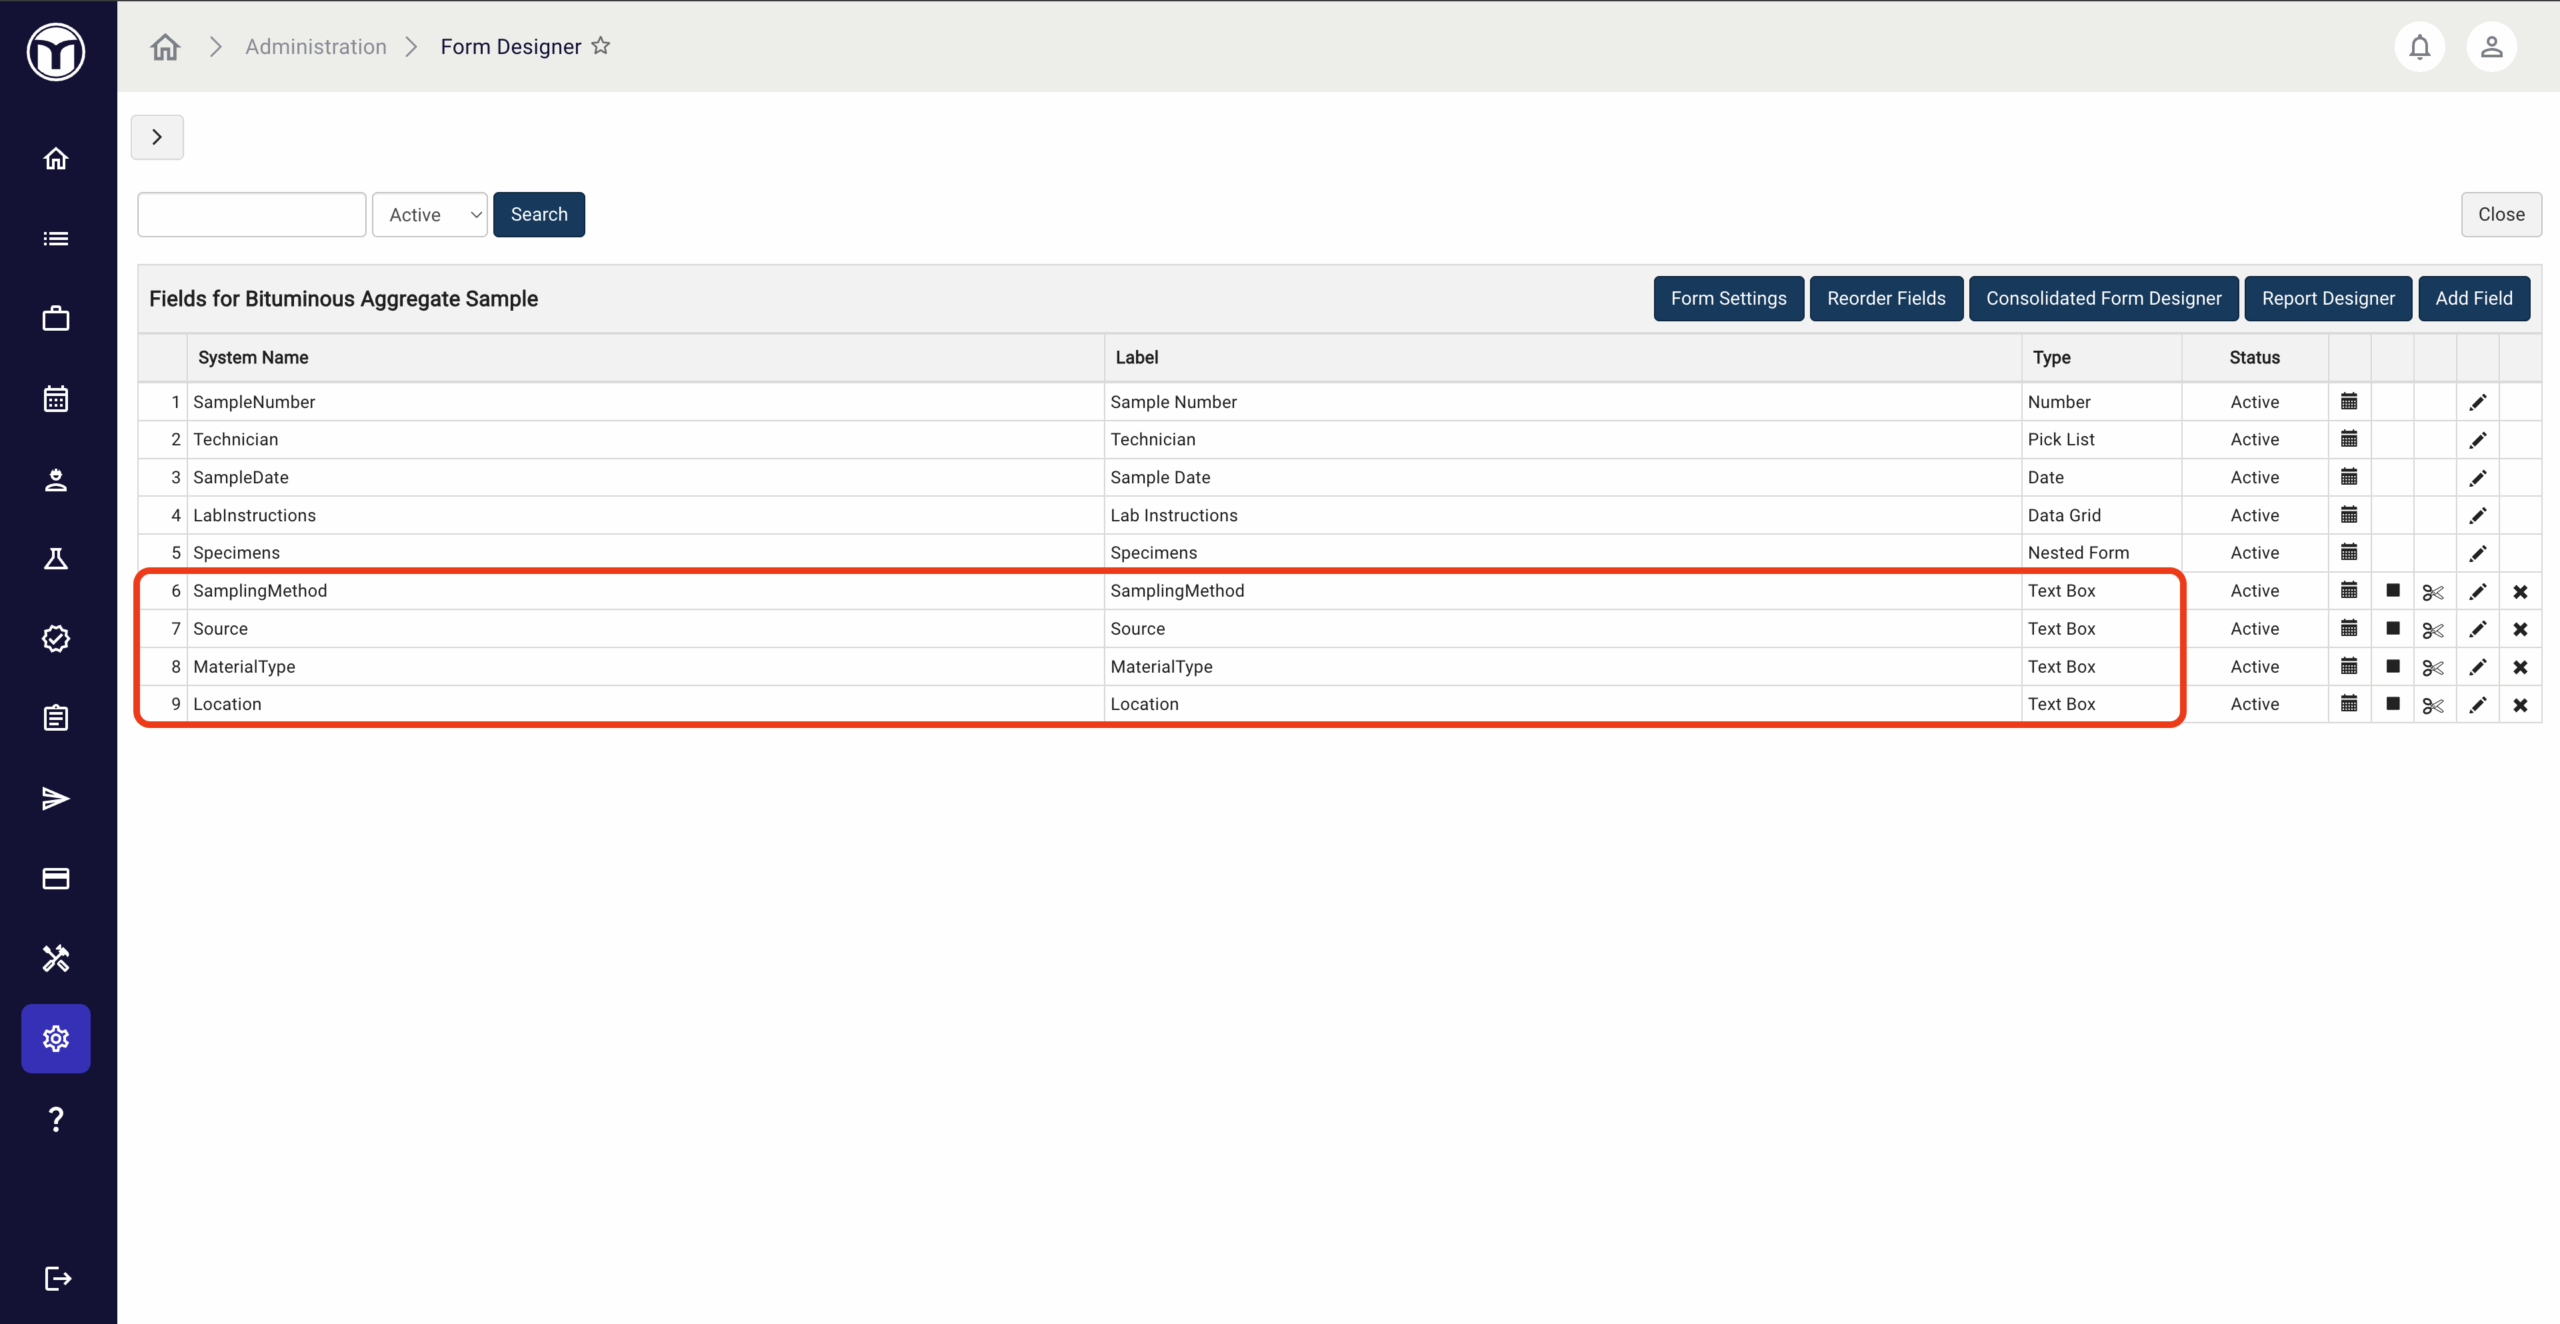
Some sample types will have only one specimen, while others may have multiple, so plan your forms accordingly. In our example, we chose to collect the sampling method, source, material type, and location on the Sample Form. We did not add any fields to the Specimen Form, though you could if needed. For simplicity, these fields were created as text boxes, but in most cases you may prefer pick lists or other field types with custom data sources.

4. Set the Form Status
Finally, ensure your forms are in the appropriate status, first for testing, and later for production use.

Creating the Test Form
Once your Sample and Specimen forms are in place, the next step is to create a Test Form.
1. Add a Test Form
In Administration under LIMS / Samples → Test Forms, click Add Test Form. For this example, we’ll call the form Sample Tracking – Sieve Analysis. Use your organization’s preferred naming convention if different.

2. Associate the Material
Open the Test Form for editing and select Form Settings. Assign the same Material that was linked to the Sample Form earlier to ensure the forms connect properly.

3. Define the Test Form
Since the majority of this test will be performed outside of MetaField, only minimal setup is needed. At a minimum, add a File Upload field (we named ours External Report). You may add additional fields if you’d like, but this isn’t required.


Creating the Report
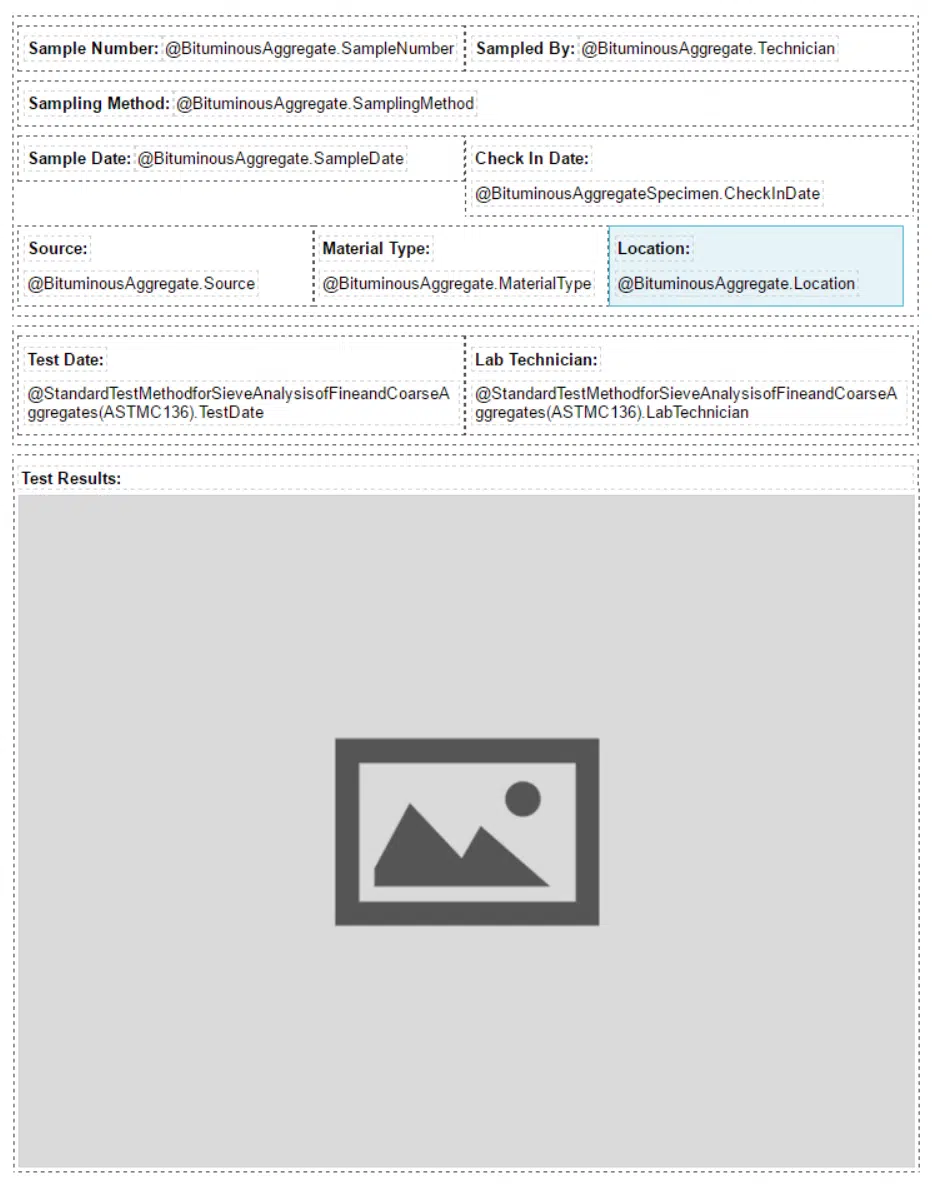
The final step is to create a Report for your new Test Form. Be sure to include the External Report file upload field, since this is where the test data will appear.
You may also choose to include data from the Sample, Specimen, and/or Test forms. In this example, we included all three for completeness.
Using the Sample Tracking Process
Now that setup is complete, here’s what the workflow looks like for users:
Field
Field staff can select this new sample type the same way they would any other test form in MetaField. There’s no difference in the field workflow between tests performed directly in MetaField and tests tracked externally. This means the same chain of custody (pick-up and check-in) process applies to all samples.
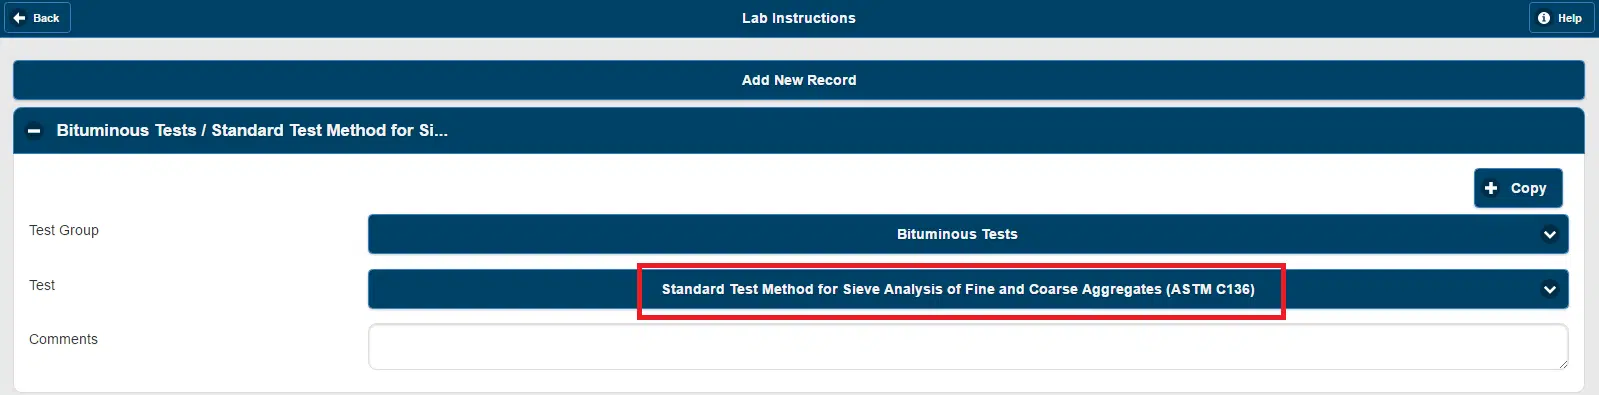
When logging the sample, field staff can also add the new test to the lab instructions. While not required, it appears in the system just like any other test.

Lab (LIMS)
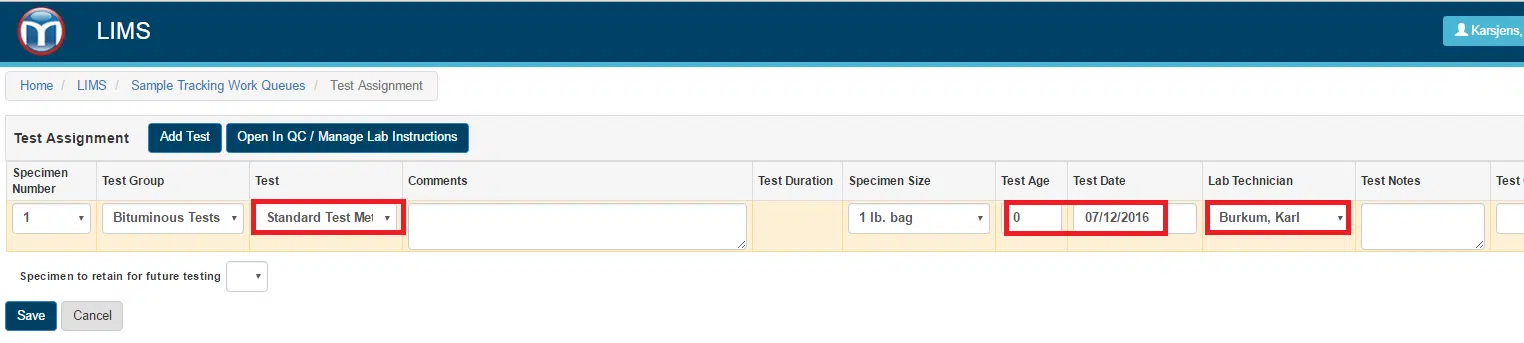
Once a specimen is checked into the lab, it follows the same receiving and assignment steps as any other specimen. The test moves through the Testable and To Test queues as usual.
The only difference comes when entering results: instead of recording data within MetaField, staff upload the external report (e.g., Excel or another system) and enter a completion date. This step ensures the test moves out of To Test and can proceed through the normal approval process.
Reporting
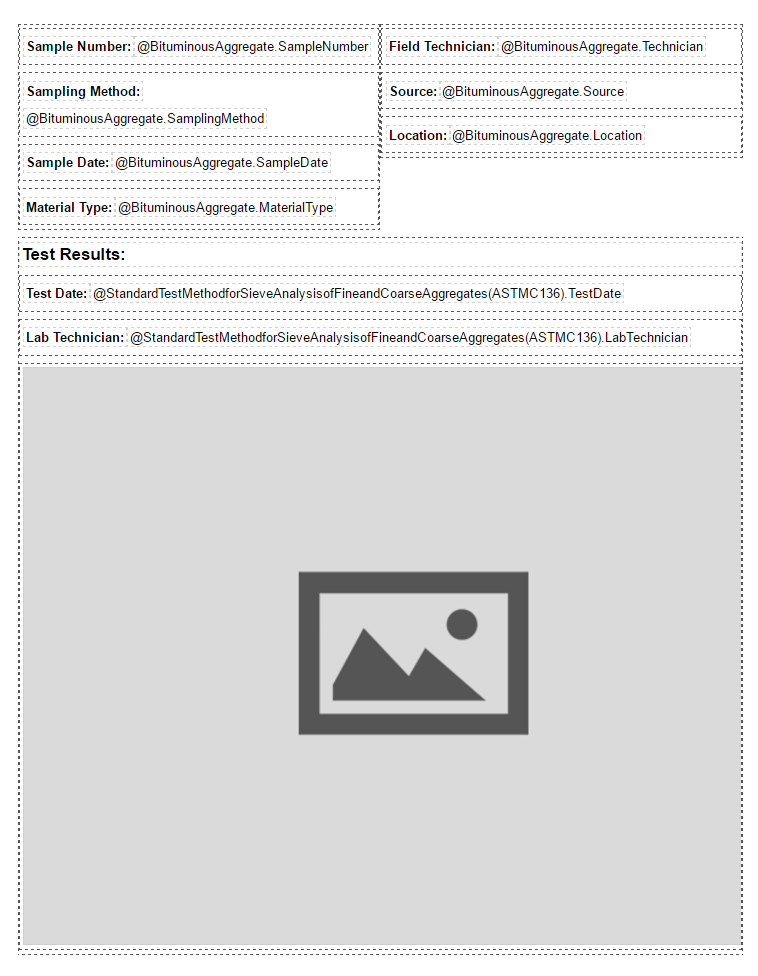
The final report includes any MetaField data you configured, along with the attached external report. The lab manager must approve the test before results can be reported.
Reports can then be generated in Review (QC) or Lab (LIMS) as usual. Here is an example of a report generated using the above test.

Want to keep learning?
Click here for more how-to articles and MetaField guides. You can also access in-app guidance using the Help Desk!