Help Article
Lifecycle of a Specimen (Concrete/Grout/Mortar or Generic Sample)

Purpose
In MetaField, a sample is a subset of material collected from a larger source, while a specimen is a smaller, precisely prepared piece taken from that sample for individual testing. In other words, the sample is the source, while the specimen is the item actually tested in the lab.
From the Field module of MetaField, users can create samples, each of which includes one or more associated specimens. These specimens will move through defined statuses, from initial logging and lab check-in to appearing on a final report. The graphic below shows each step of the specimen lifecycle, including optional steps, like Drafted specimens and creating reports in the Lab module. We'll walk through this workflow in more detail below.

For Field Staff
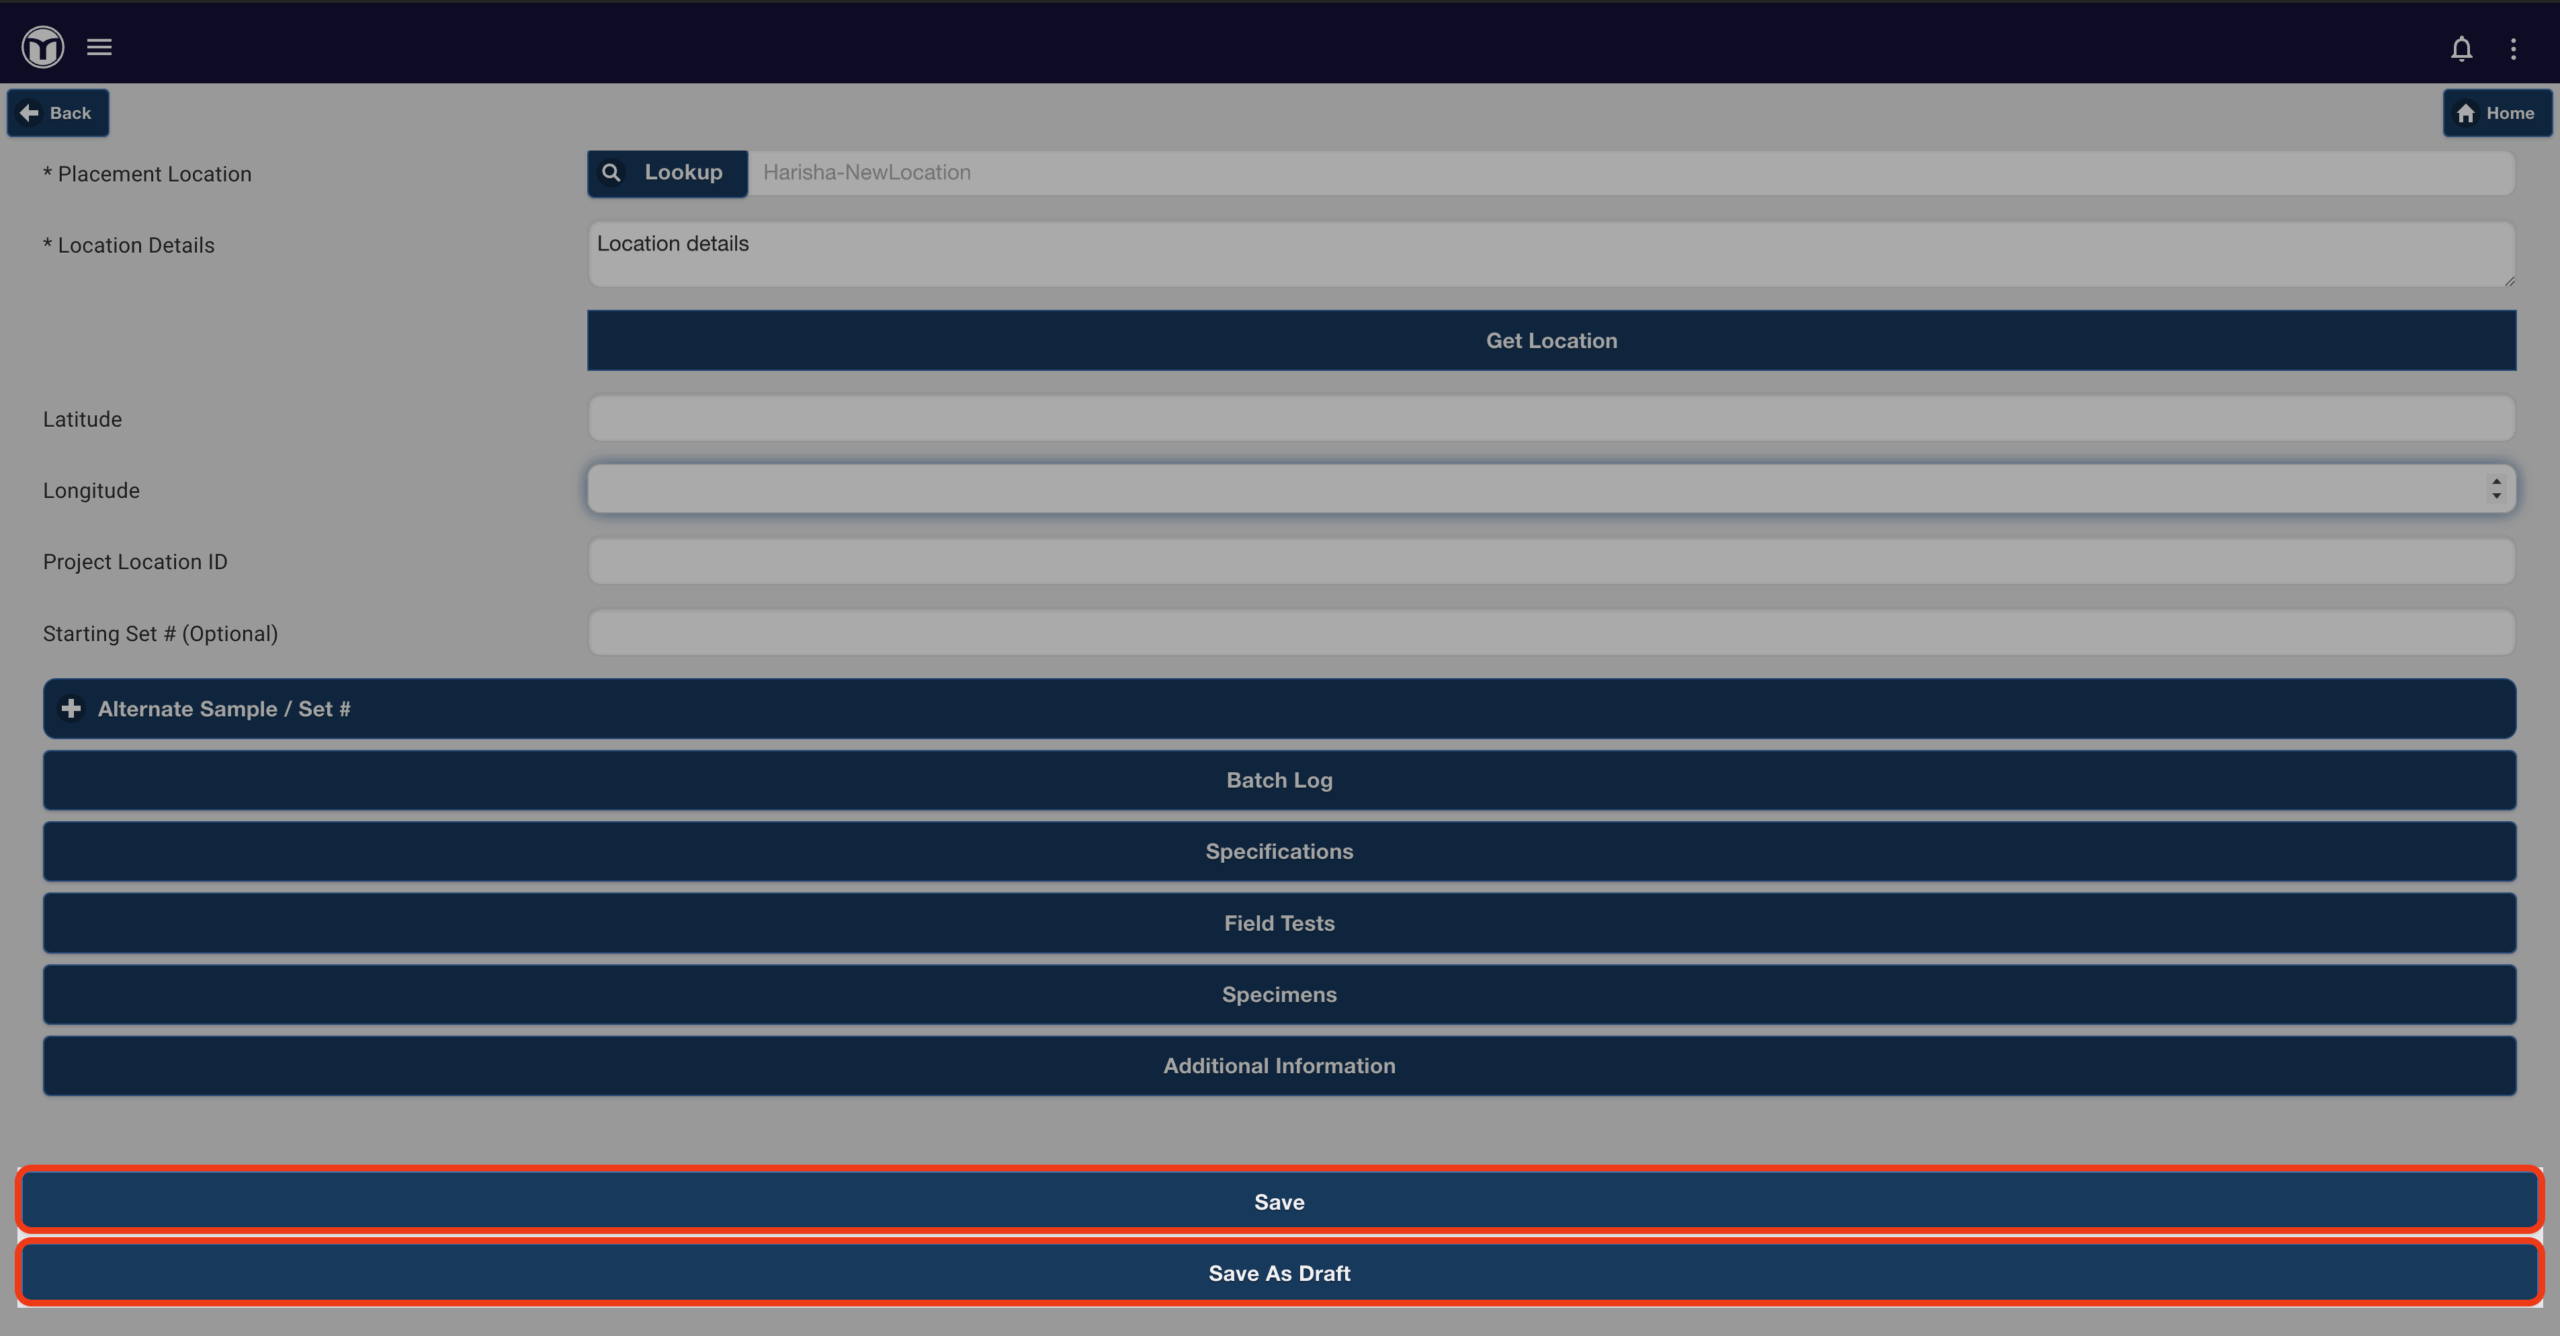
A sample and its related specimens are created by a Field user in [Field] > [Sampling]. The user can save the sample in Draft status or save it as complete, resulting in the Logged status. In either case, the system assigns a sample number and specimen numbers accordingly. In addition, all specimens associated with a given sample will share the same status (Draft, Logged, Checked In, etc.).
After specimens reach Logged status, individual specimens on the same sample can progress independently through different statuses depending on their location or stage in the process. For example, one specimen might be in the lab while another remains at the job site for a field cure.
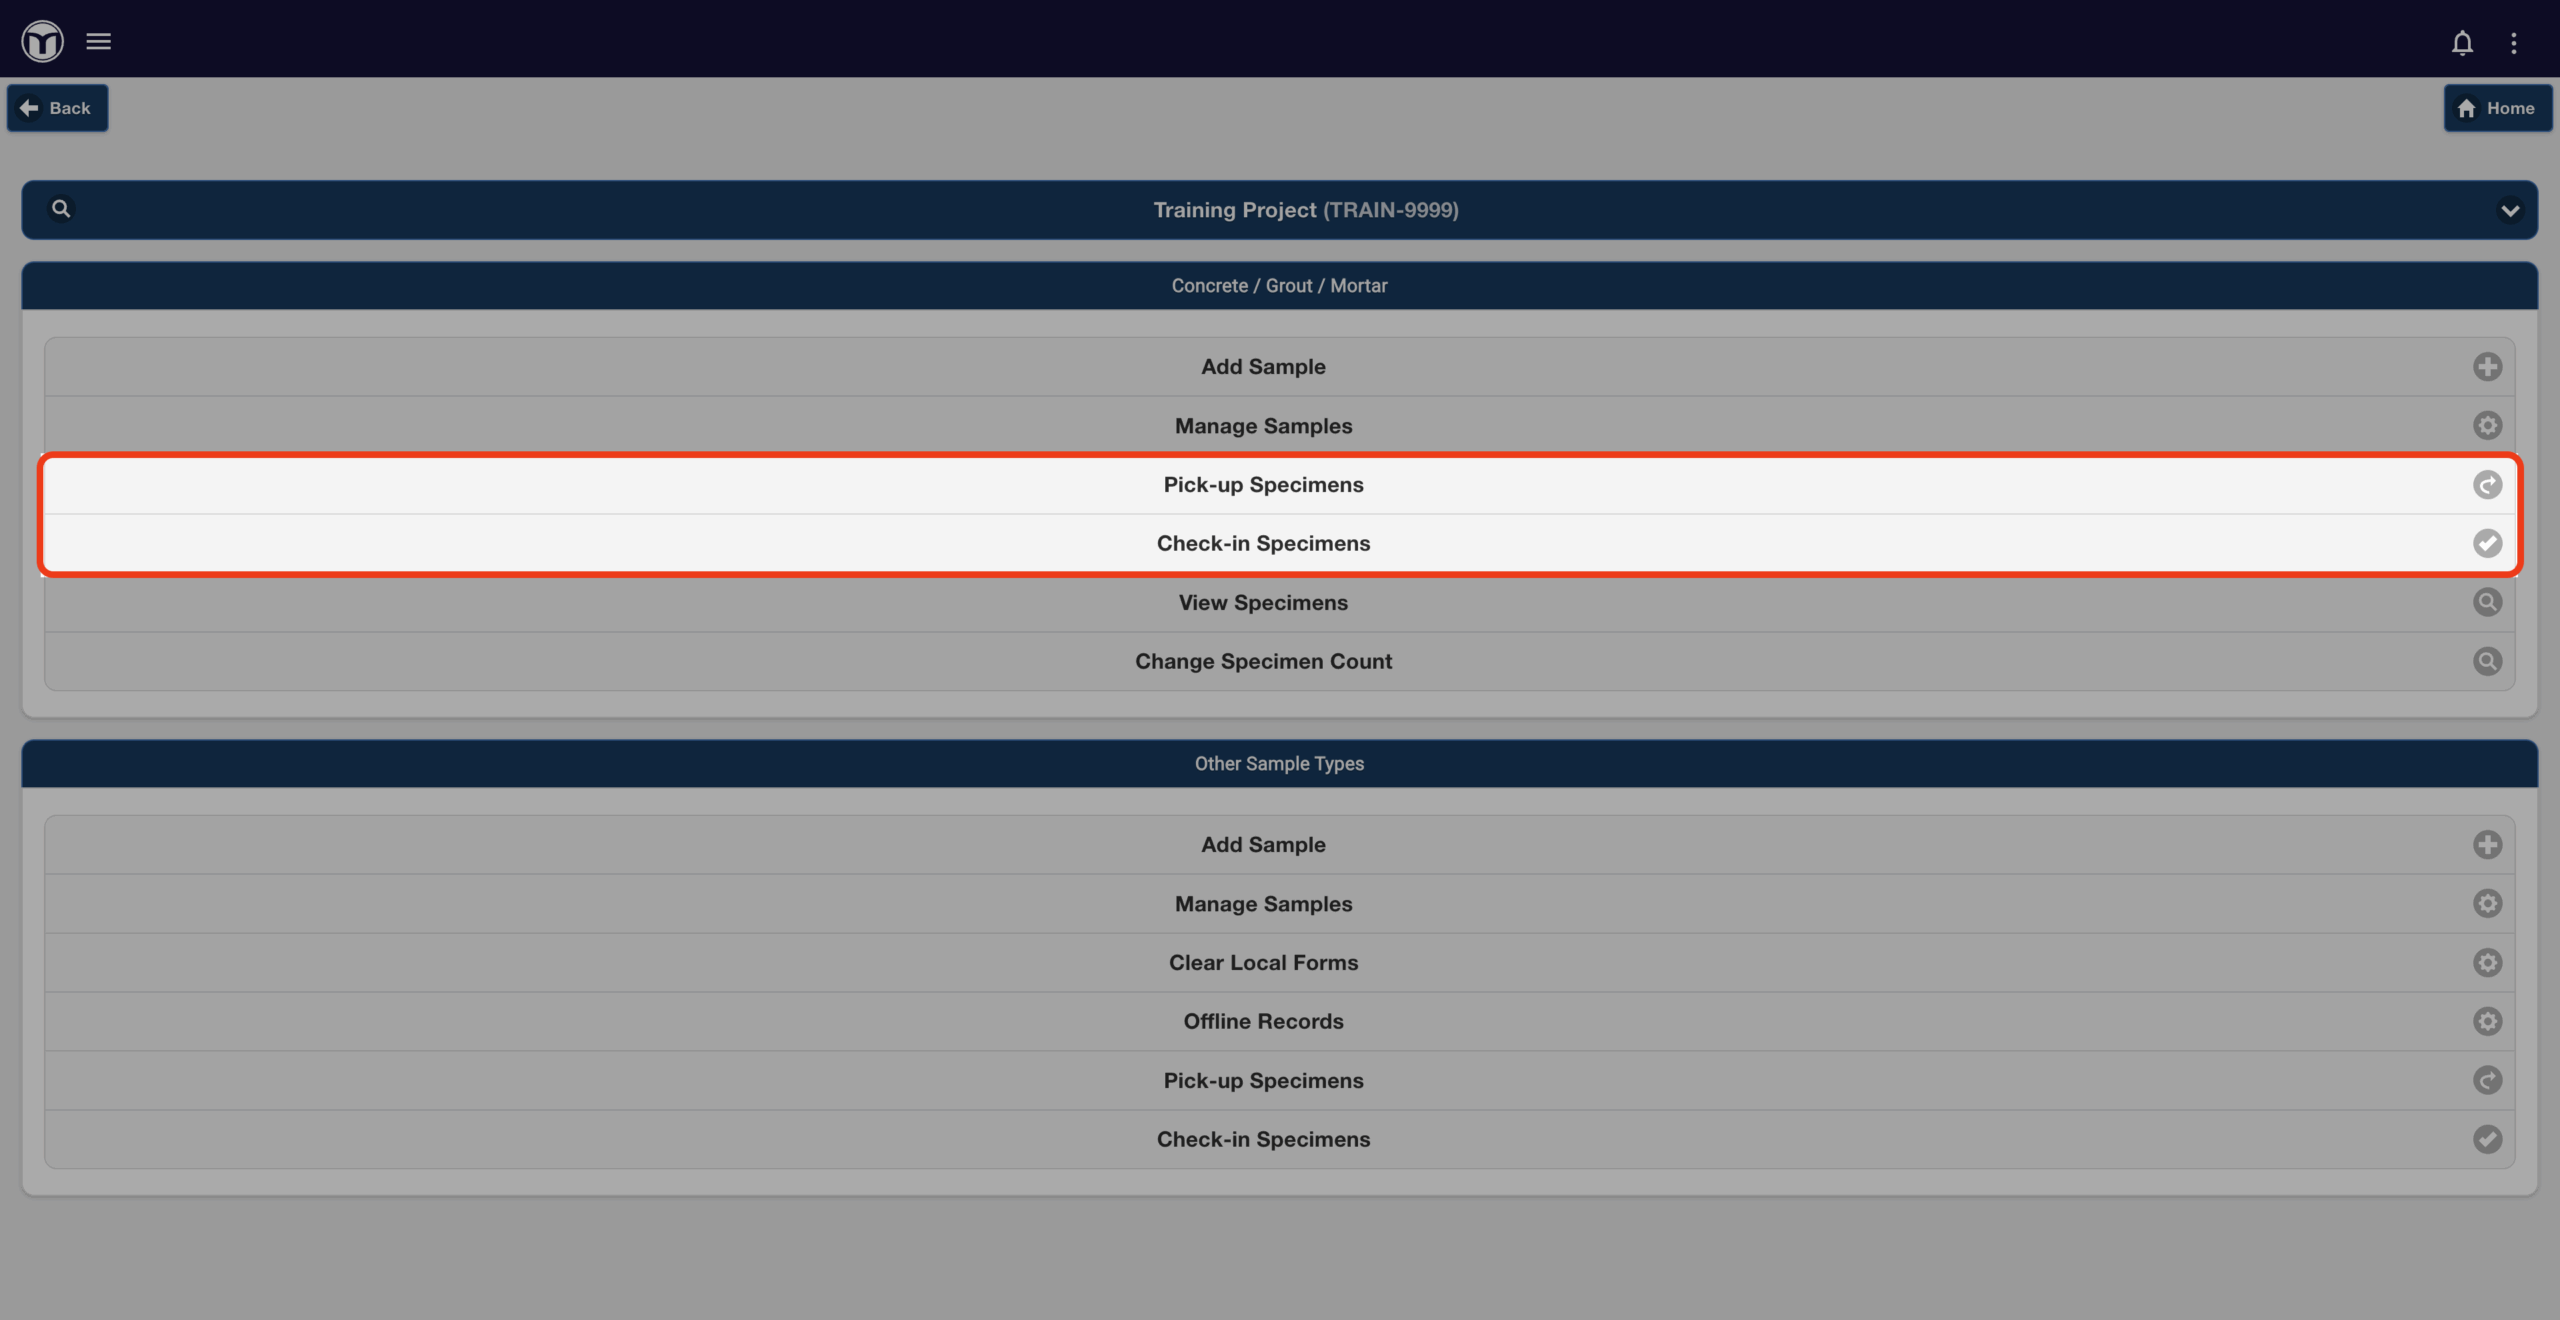
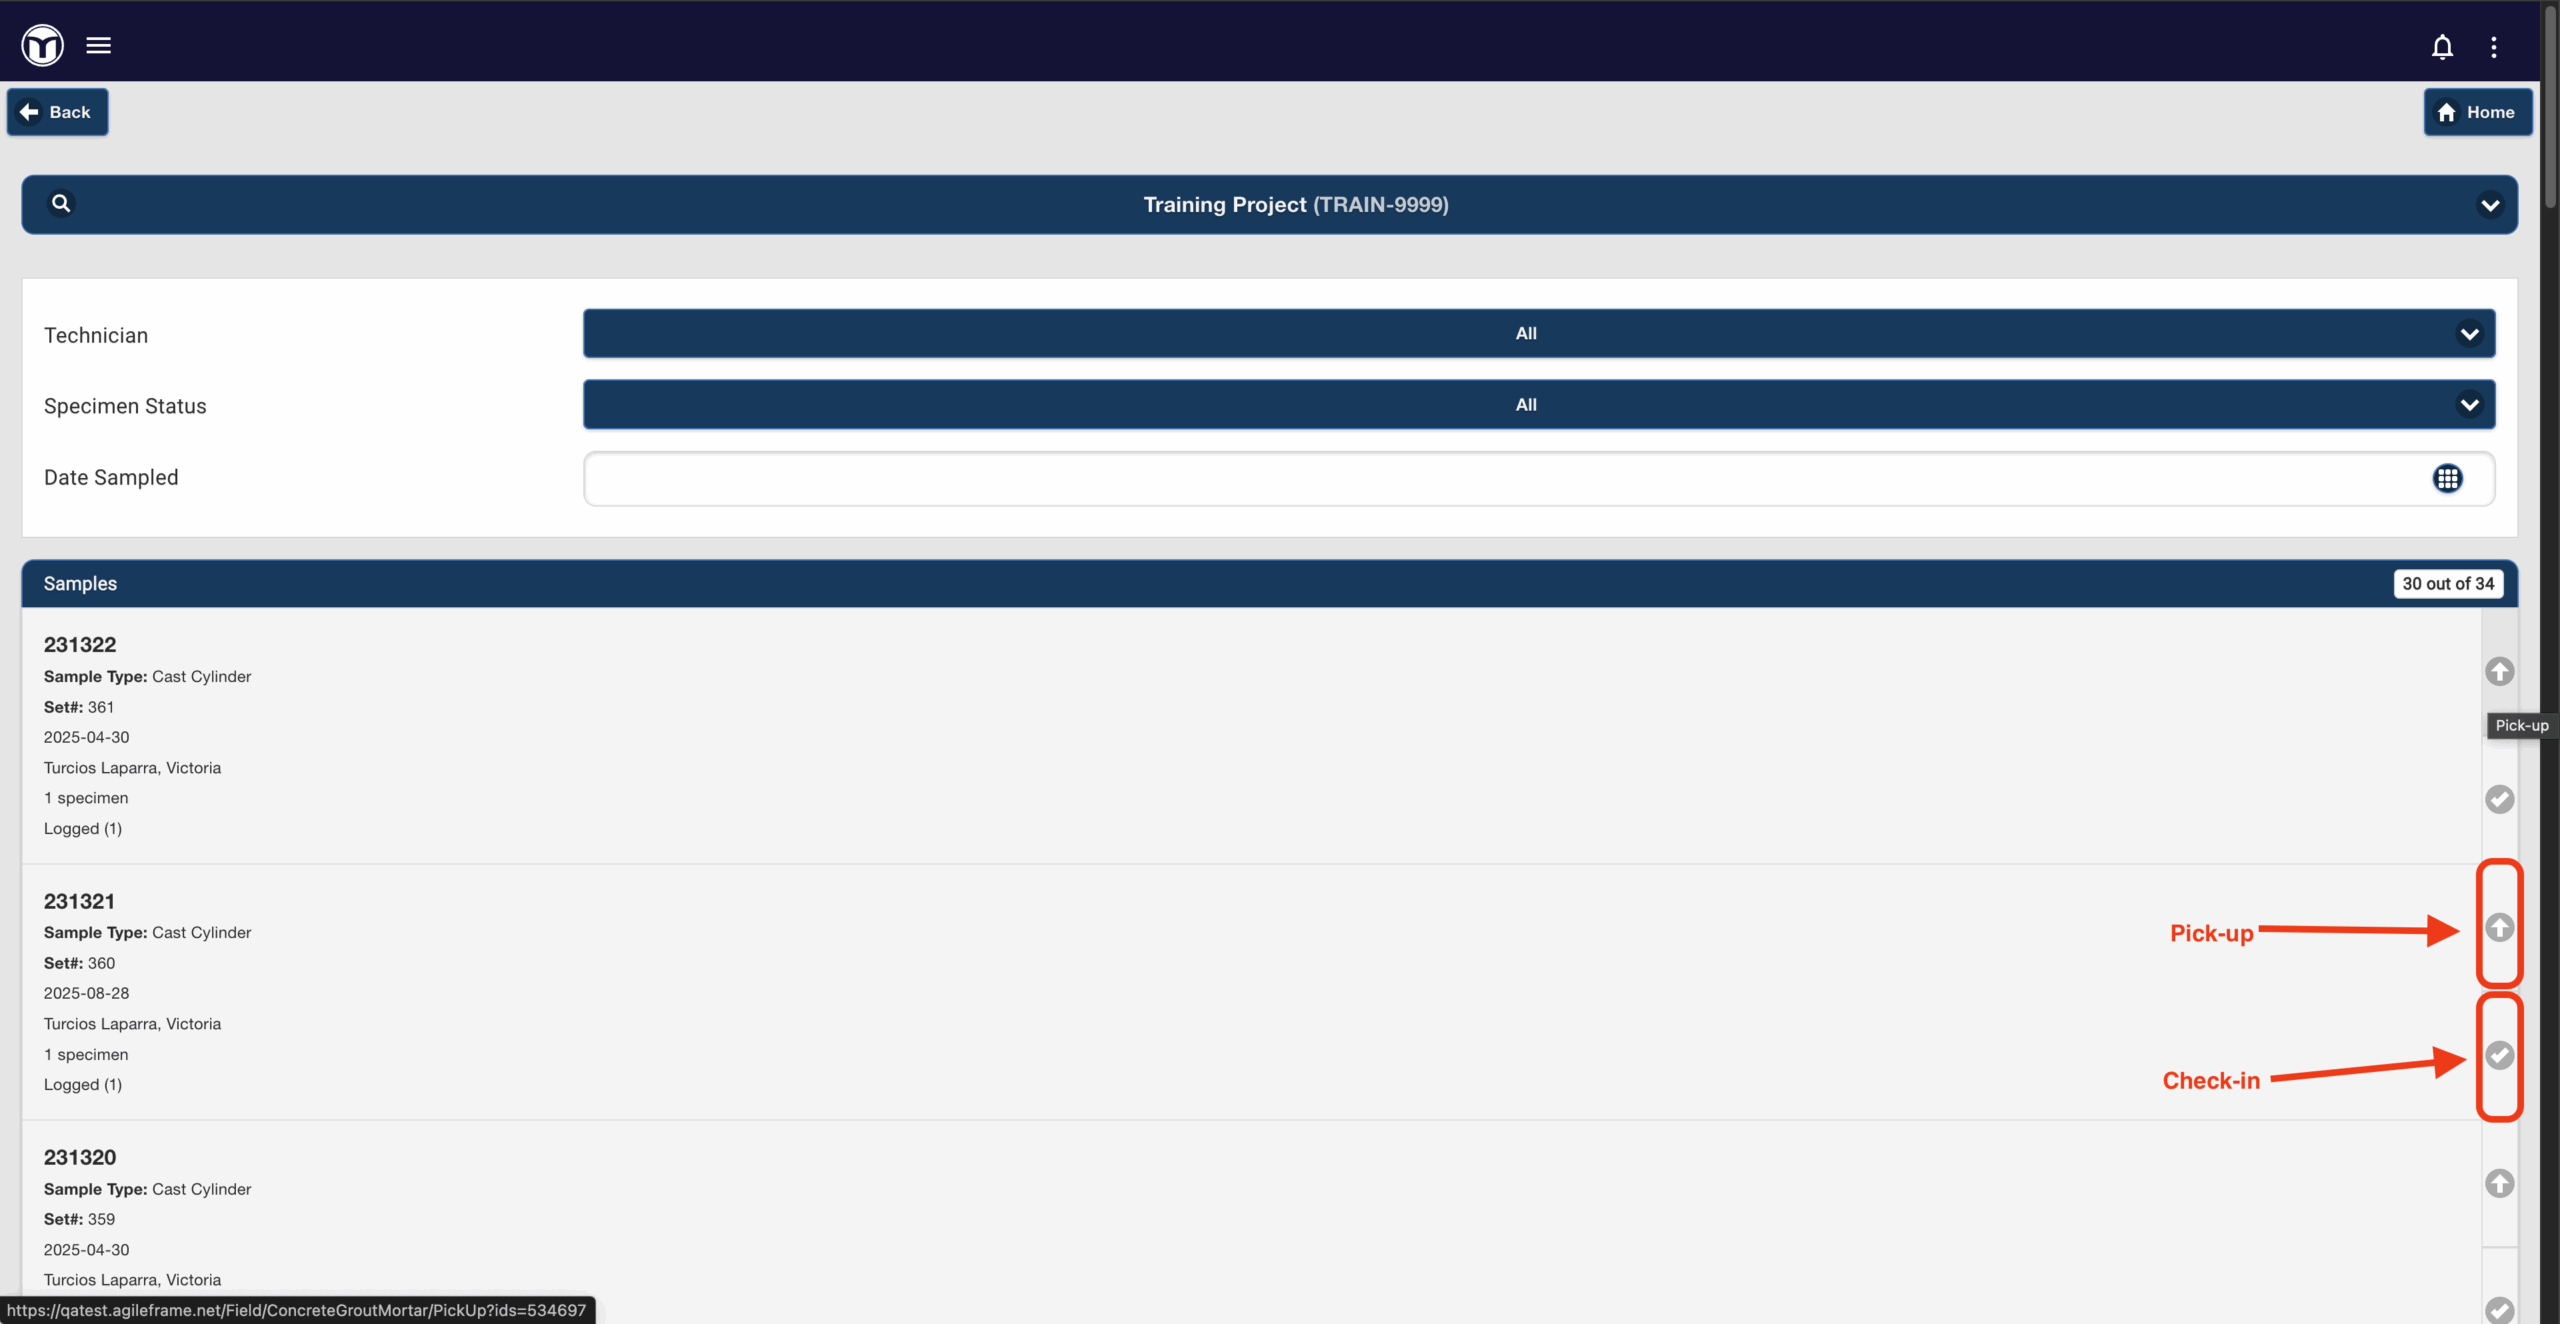
From the Logged status, there are two options for moving a specimen into the lab:
- It can be picked up from the Field, or
- It can be checked in directly to the Lab, skipping the pickup step.
Both actions, pickup and check-in, are completed within the Field module. In some workflows, the field staff user may also be responsible for receiving and prepping specimens in the lab, in which case the specimen is received directly from the Field module.
Additionally, field technicians can create a Concrete/Grout/Mortar (C/G/M) Specimen Field Report containing one or more specimen records, or a Concrete or Grout Placement Summary Field Report containing one or more sample records.


For Lab Staff
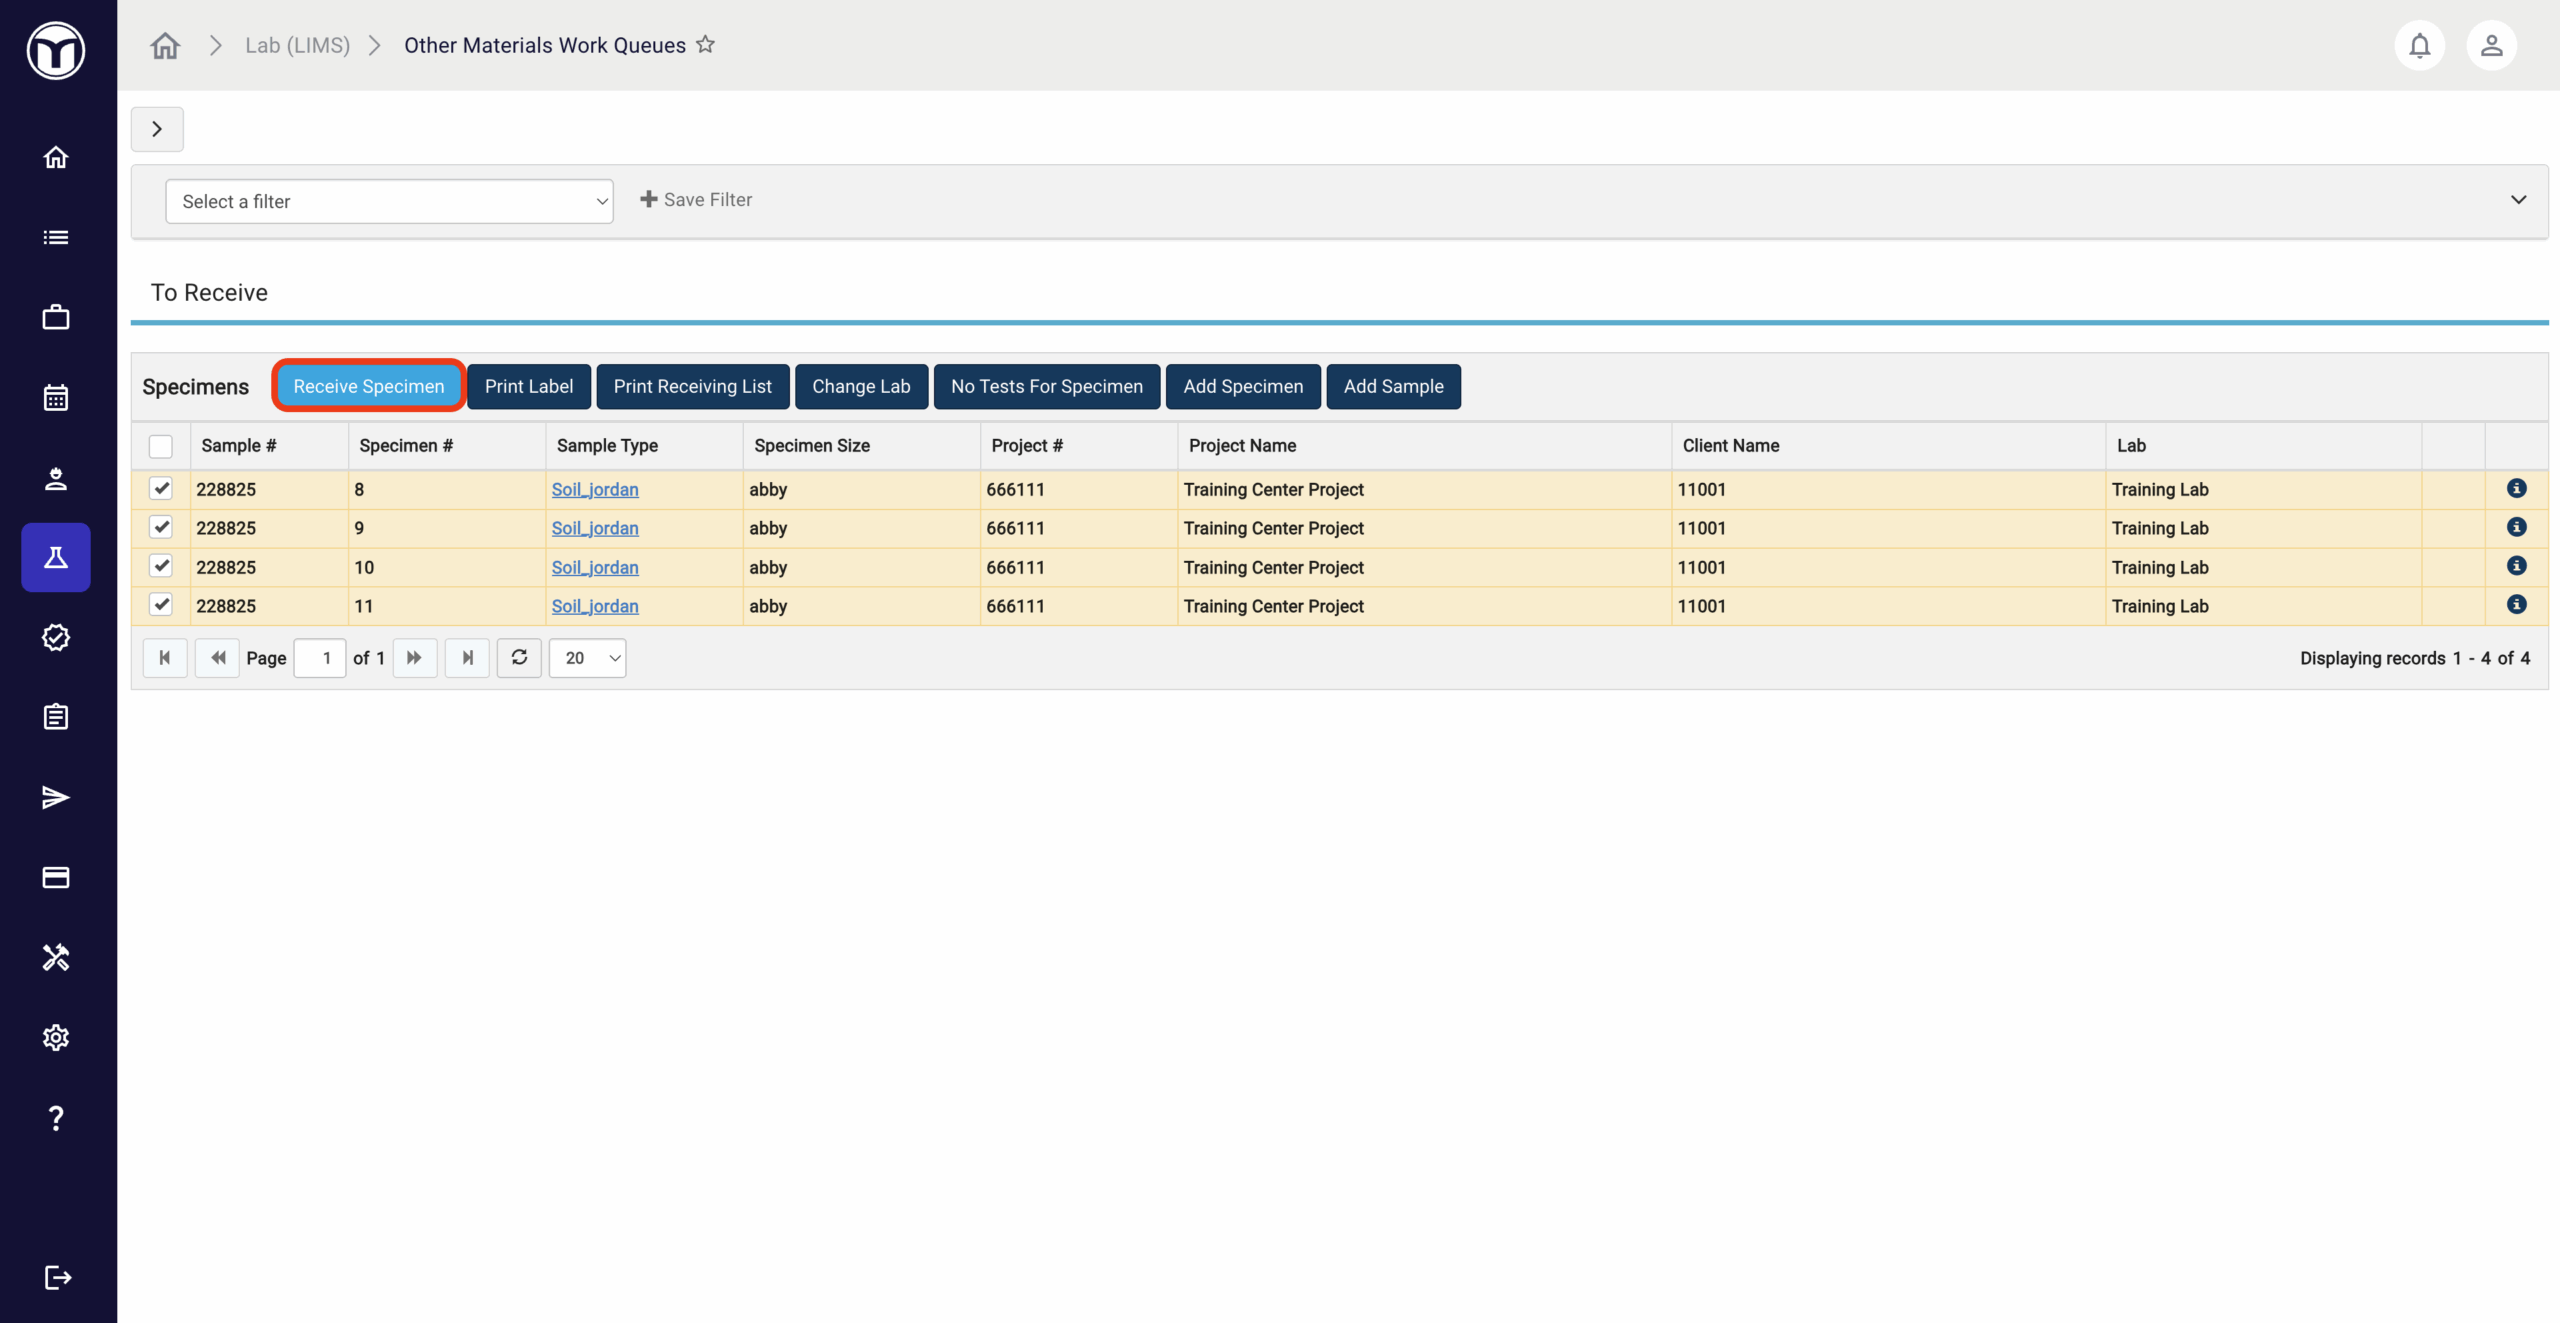
When a specimen is checked into the Lab, control passes from the Field module to the Lab (LIMS) module. The initial work queue within the Lab is To Receive. Lab personnel will then indicate that the specimen has been received.
If the Field user is responsible for receiving and prepping specimens for a given Lab, those specimens skip the To Receive queue and move directly into the Tests to Assign queue (this exception does not apply to Concrete/Grout/Mortar (C/G/M) samples). C/G/M specimens instead move to the Testable status.

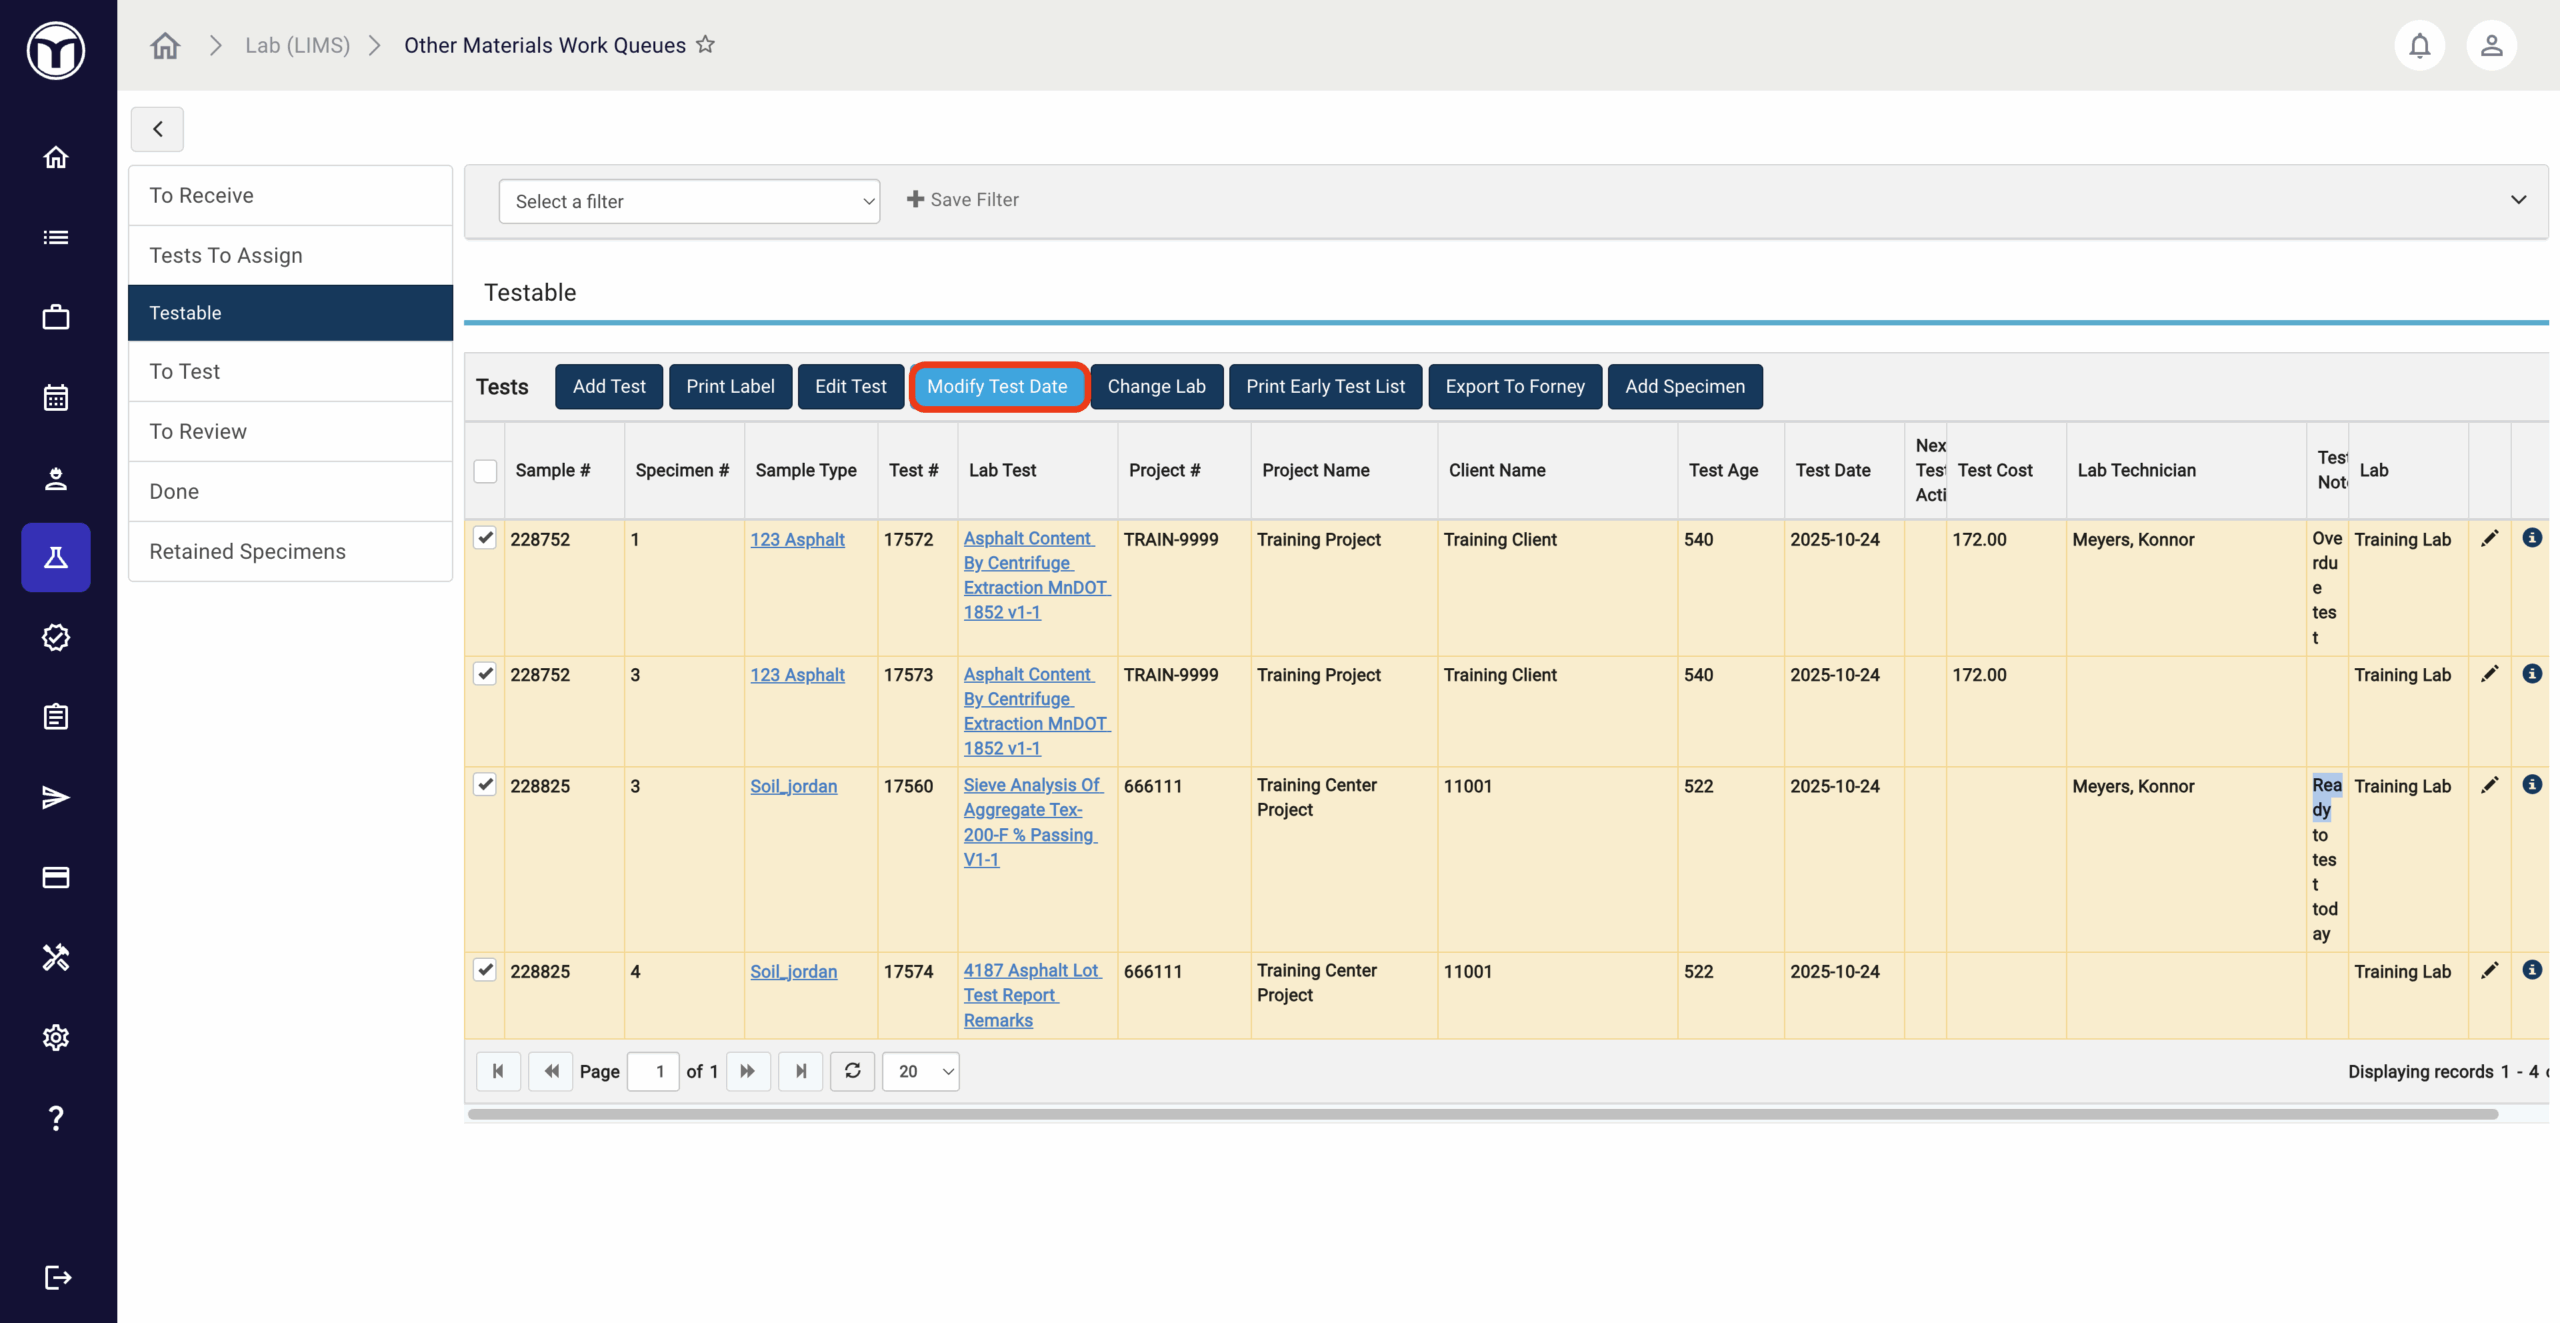
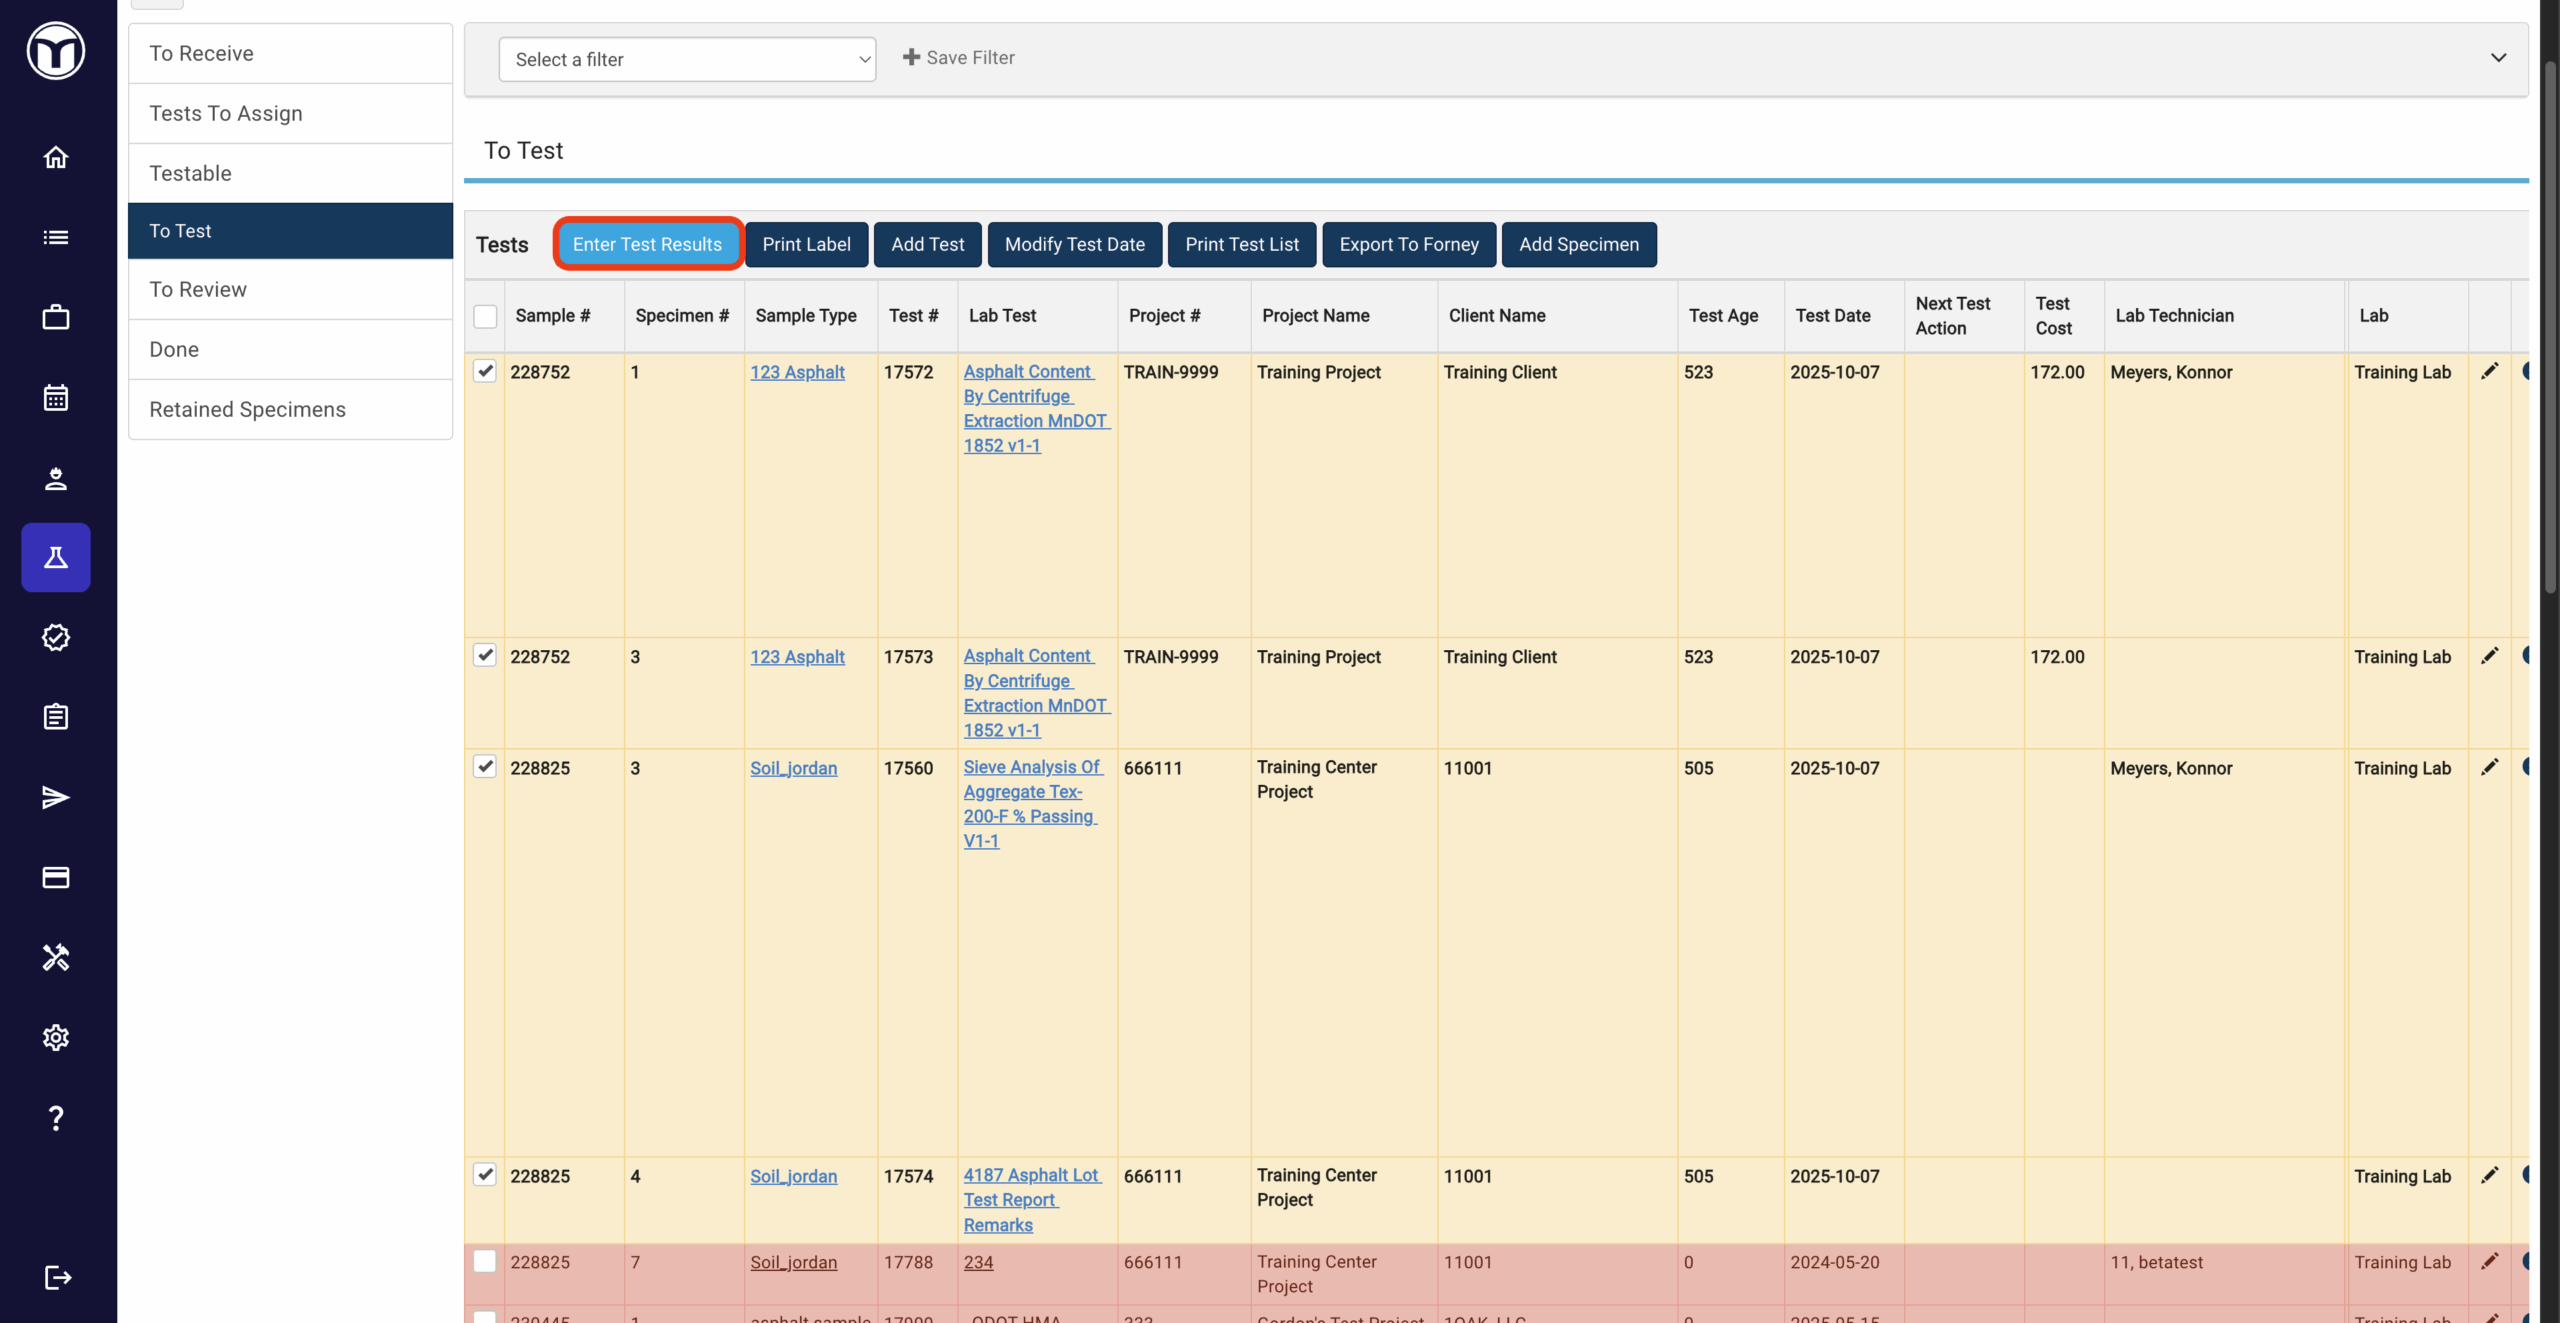
Specimen tests remain in the Testable queue until the appropriate test date arrives. This date can be changed using the Modify Test Date button, as shown below. At that point, the test advances into the To Test queue - where staff can use the Enter Test Results button to input data.
Once results are entered, the test moves from To Test into the Review queue. For multi-day tests, they return to Testable between test actions and then move back into To Test when the next test is due. Once completed tests are reviewed, a report can optionally be generated.


When reporting is complete, the specimen moves to the Done status:
- If a report has not been generated, the specimen appears as Analyzed in the Review (QC) and Dashboard modules.
- If a report has been generated, the specimen appears as Complete.
Lab Workflow Exceptions
- Concrete Density Testing: Tests that reach Review status return to To Test and continue cycling until the results meet the desired parameters.
- Generic Samples: Multiple tests may be assigned to the same specimen. The specimen follows this process for each test, which may include iterative testing similar to concrete density workflows.
- Retained Specimens: Generic specimens may be retained for future testing during the test assignment process. These remain in the Retained Specimens queue until they are either discarded or a test is assigned, at which point they move into the Testable queue.
For Project Managers - Review (QC)
Project Managers use the Review (QC) module to view and manage project work. As soon as a sample and its specimens are saved in the Field module, they become visible in Review (QC), allowing PMs to monitor their progress across the full lifecycle. All Field statuses are visible in Review (QC), so PMs can stay informed on field activity.

Once a specimen is checked into the Lab, its status in Review (QC) changes to Checked In and remains that way until lab testing is completed. After test results are entered in the Lab, Review (QC) displays the status Lab-Review, indicating that results are awaiting Lab approval. When a test is approved in the Lab, it transitions to Analyzed status, or Complete if reporting for that test was finalized through Lab (LIMS) by the Lab Manager. Other Lab statuses are not displayed in Review (QC).
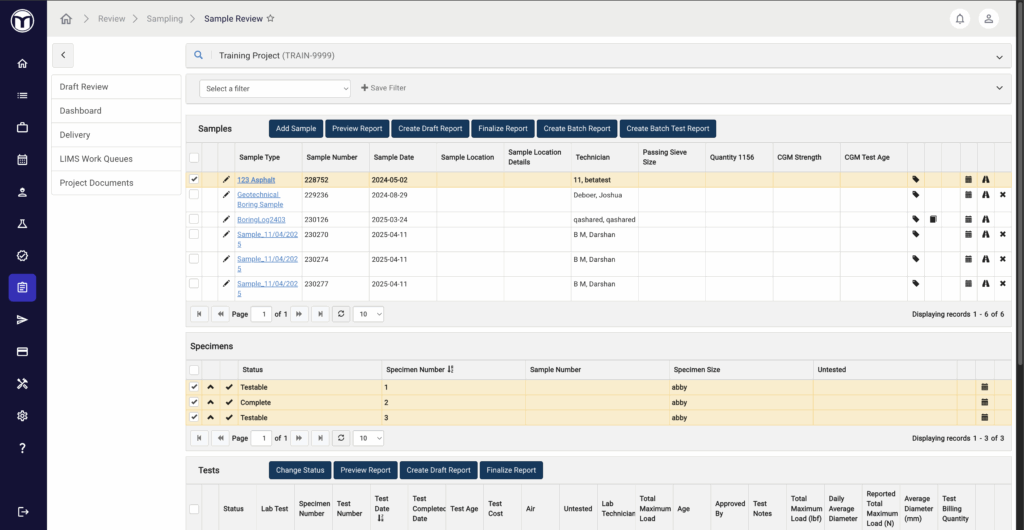
If a specimen is Analyzed, it becomes the PM’s responsibility to review the specimen and determine if it should appear on a report. Managers may optionally flag a specimen for Review, though this step is not required. While a specimen can technically be reported in any status, it is recommended to mark it Complete before reporting. This ensures that results display properly on the report and removes the specimen from the Project Manager’s view.
Deliver Module
Within the Deliver module, the PM's dashboard provides visibility into all specimens currently in Analyzed or Review status in Review (QC), along with any results that do not meet specifications. This area also helps PMs track specimen statuses before they reach the Review stage, offering a more complete picture of progress across both Field and Lab workflows.
Want to keep learning?
Click here for more how-to articles and MetaField guides. You can also access in-app guidance using the Help Desk!